Cold showers catch you off guard in the worst way. When you need to fix water heater no hot water problems, the frustration is real, but the solution is often closer than you think. Most homeowners assume the worst and immediately call for a replacement. In many cases, a tripped breaker, a dead pilot light, or a build-up of sediment is all that stands between you and a hot shower. This guide walks you through water heater troubleshooting for both electric and gas units, covers safety first, and tells you exactly when to stop and call a licensed plumber.
Table of Contents
- Key takeaways
- How to fix water heater no hot water: start here safely
- Troubleshooting electric water heaters
- Troubleshooting gas water heaters
- Maintenance issues that cause no hot water
- When to stop DIY and call a professional
- My honest take on DIY water heater repairs
- Get your hot water back today with Drainpointplumbing
- FAQ
Key takeaways
| Point | Details |
|---|---|
| Start with a whole-house check | Confirm whether one faucet or all fixtures are cold before touching the heater. |
| Gas and electric need different fixes | Pilot light and thermocouple issues affect gas units; breakers and heating elements affect electric units. |
| Sediment is a silent culprit | Flushing your tank every 6 to 12 months prevents efficiency loss and popping noises. |
| Resets are symptoms, not solutions | Pressing the reset button repeatedly without diagnosing the cause creates a fire risk. |
| Know your stopping point | Gas smells, visible leaks, and repeated breaker trips all require a licensed technician, not more DIY. |
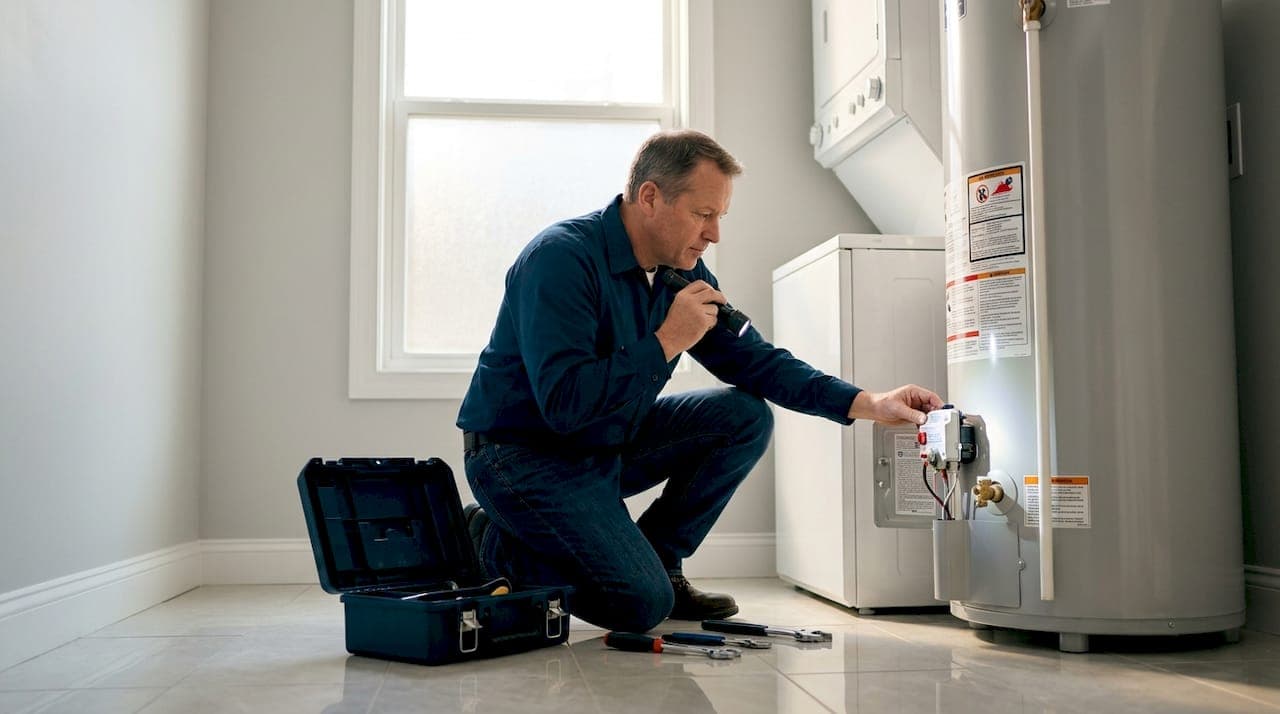
How to fix water heater no hot water: start here safely
Before you touch anything, spend two minutes doing a basic assessment. It saves you time and keeps you safe.
Check all your faucets to determine if the cold water issue is in one spot or every tap. If only one sink runs cold, the problem is likely in that fixture, not the heater itself. If every tap in the house runs cold, your water heater is the source. This one step eliminates a lot of unnecessary troubleshooting.
Next, identify whether you have a gas or electric unit. Look for a blue or orange flame indicator window on the front of the tank (gas) or an electrical panel connection and no visible gas line (electric). The repair path splits completely based on this answer.
Tools you may need
| Tool | Purpose |
|---|---|
| Flathead screwdriver | Access heater panels and reset buttons |
| Digital multimeter | Test heating elements on electric units |
| Garden hose | Flush sediment from the tank |
| Adjustable wrench | Disconnect hoses for flushing or element replacement |
| Flashlight | Check pilot light area and dark panels |
Safety comes before every step. If you smell gas, do not flip any switches or use your phone near the unit. Leave the house and call your gas company from outside. If you are working on an electric water heater, shut off the dedicated circuit breaker before removing any access panels. Never work around water pooled near an electric unit until power is off and the source of the leak is identified.
Pro Tip: Snap a photo of your water heater's label before you start. The model number, serial number, and voltage rating on that label answer most questions you will encounter during troubleshooting.
Troubleshooting electric water heaters
Electric water heaters are actually among the easier water heater problems to diagnose because they follow a predictable failure pattern.
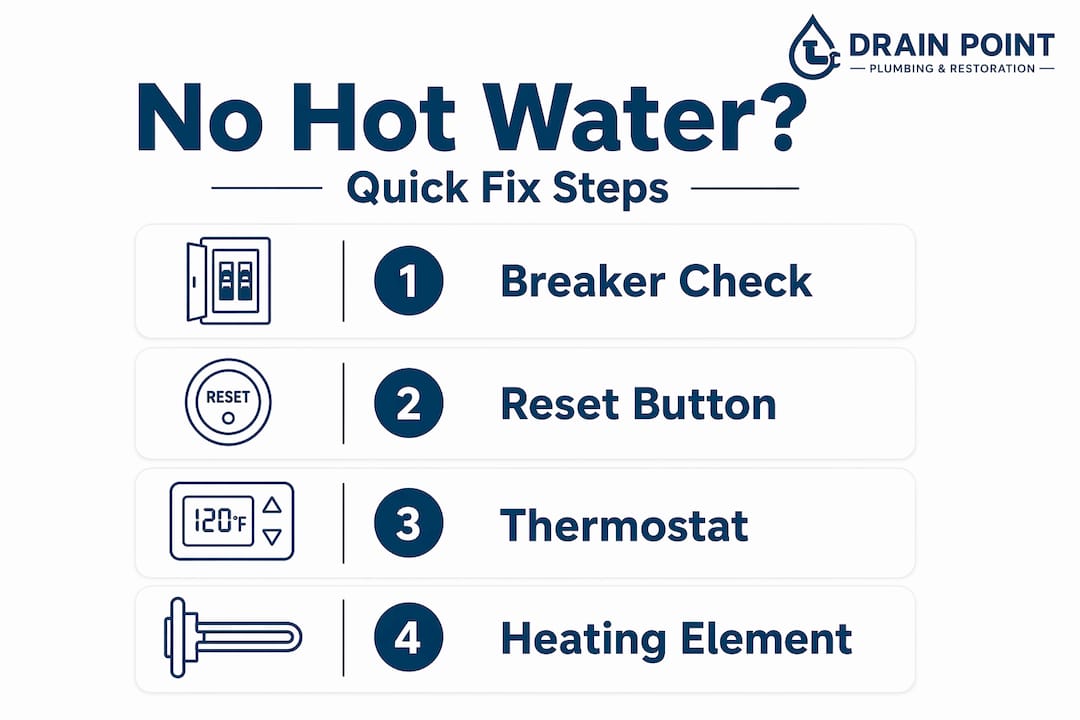
Step 1: Check the circuit breaker
Go to your main electrical panel and look for the breaker labeled "water heater." If it has tripped to the middle position, flip it fully off and then back on. Give the heater 30 to 60 minutes to recover before testing the hot water again.
If the breaker trips again immediately or within a short period, stop resetting it. Repeated breaker trips indicate an underlying short or a faulty heating element. Forcing the reset at this point is a fire hazard.
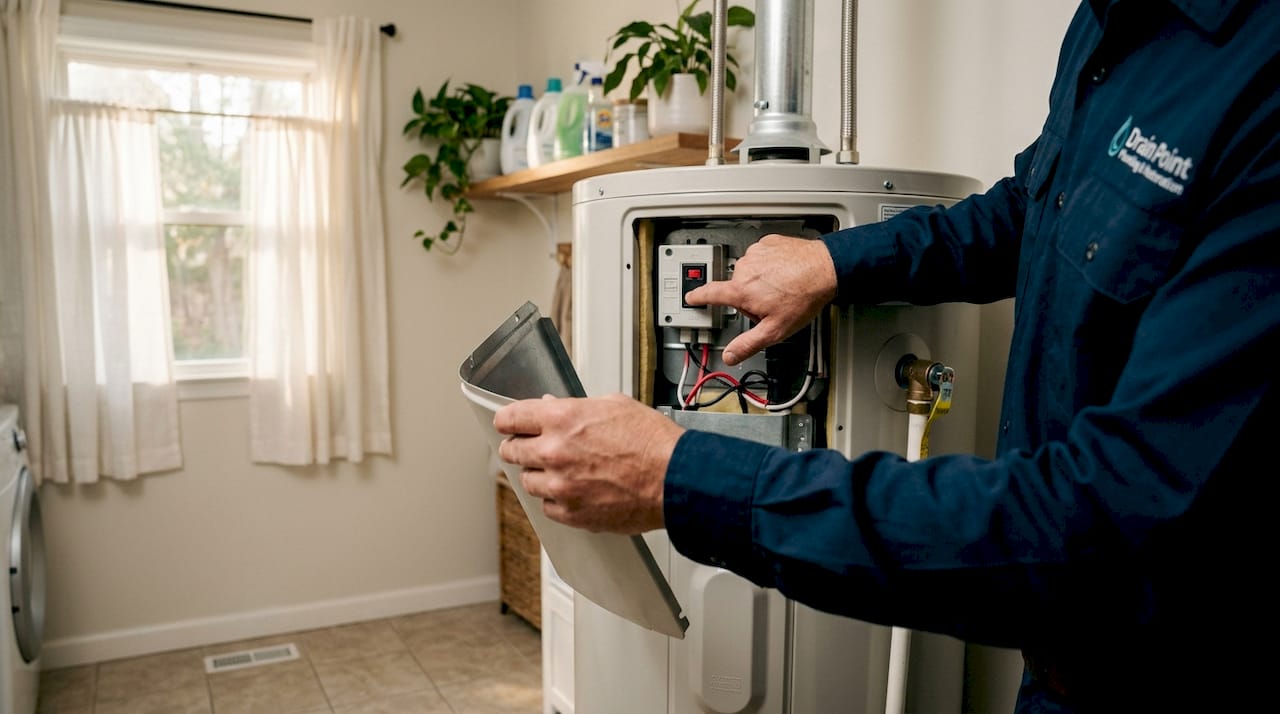
Step 2: Press the high-temperature cutoff reset button
If the breaker is fine but you still have no hot water, locate the upper access panel on your water heater. Remove it and look for a red button, typically labeled "ECO" or "reset." Pressing this reset button restores heating after an overheating shutdown. Press it firmly until you hear a click, replace the panel, and wait an hour.
Step 3: Check your thermostat settings
Behind the same access panel, you will find the thermostat dial. The recommended water heater temperature sits between 120°F and 140°F. A setting below 110°F will leave you with lukewarm water at best. Adjust the dial carefully and replace the panel before restoring power.
Step 4: Test the heating elements
If none of the above steps restore hot water, one or both heating elements may have burned out. This is where a digital multimeter comes in. With power off at the breaker, disconnect the wires from each element and set your multimeter to the resistance setting.
- A reading between 10 and 30 ohms means the element is functional.
- A reading of zero or "OL" (open loop) means the element has failed and needs replacement.
- Both upper and lower elements should be tested independently.
Replacing a heating element is a manageable DIY task if you are comfortable working with electricity, but if you are not confident with a multimeter, this is a reasonable point to call a professional.
Pro Tip: Always turn off the cold water supply and drain enough water below the element before removing it. Forgetting this step turns a simple repair into a flooded garage.
Troubleshooting gas water heaters
Gas water heater troubleshooting follows its own path. The most common reason a gas unit stops producing hot water is a pilot light that has gone out.
How to relight the pilot light safely
- Turn the gas control knob to the "off" position.
- Wait at least 5 minutes to let any residual gas dissipate before relighting. This waiting period matters. Modern gas valves prevent gas flow unless the thermocouple is heated, but waiting prevents any gas pocket from igniting at once.
- Turn the knob to the "pilot" position.
- Press and hold the igniter button while pressing the control knob down.
- Continue holding for 30 to 60 seconds after the flame lights to heat the thermocouple.
- Release slowly. If the flame stays lit, turn the knob to your desired temperature setting.
Safety warning: If you smell gas at any point during this process, stop immediately. Leave the house, leave the door open, and call your gas company from outside. Never attempt gas leak repairs yourself. This is not a judgment call.
When the pilot light won't stay lit
This is the most telling symptom of a failing thermocouple. The thermocouple is a small sensor that tells the gas valve the pilot flame is active. When it degrades, the pilot light won't stay lit even after a successful relight. The flame dies within seconds of releasing the control knob.
Replacing a thermocouple costs between $15 and $35 for the part and is considered a straightforward DIY repair. You unscrew the old one, thread in the new one, and reconnect it to the gas valve. If you replace the thermocouple and the pilot still won't hold, the gas valve itself is likely the problem.
A failing gas valve electromagnet causes repeated pilot outages even after a fresh thermocouple. Gas valve replacement requires a licensed technician under most state codes. This is not a DIY fix.
Pro Tip: Check that the gas shutoff valve on the supply line running to your heater is fully open. It should be parallel to the pipe. A valve turned perpendicular cuts off gas flow completely and is easy to overlook.
- Signs of a failing gas valve: pilot re-lights but main burner never fires up, clicking without ignition, or a yellow rather than blue flame.
- Thermostat on a gas unit: adjust the dial on the gas control valve itself. Set it between 120°F and 140°F. Too low causes lukewarm output; too high creates a scalding risk.
- If your burner fires but the water never heats adequately, check for sediment buildup (covered next).
Maintenance issues that cause no hot water
Some of the most common water heater problems have nothing to do with electrical faults or gas supply. They are the result of deferred maintenance.
Sediment buildup
Hard water deposits minerals at the bottom of your tank over time. Sediment buildup reduces heating efficiency and forces your elements or burner to work harder. The first warning sign is a popping or rumbling noise during the heating cycle. The fix is flushing the tank.
| Flushing step | What to do |
|---|---|
| 1. Turn off power or gas | Protect elements or burner from dry-fire damage |
| 2. Connect garden hose to drain valve | Route hose to floor drain or outside |
| 3. Open hot water tap in the house | Prevents vacuum lock during draining |
| 4. Open drain valve and flush | Flush until water runs clear to remove sediment |
| 5. Close drain, refill, restore power | Allow tank to fill before restarting |
Flush your tank every 6 to 12 months. Skipping this step is the single biggest reason heaters die before their expected lifespan.
Other causes worth checking
- Dip tube failure: A broken dip tube allows cold incoming water to mix directly with hot water near the top of the tank. The result is chronically lukewarm output even when the thermostat is set correctly. This is more common in units over 10 years old.
- Tank leaks and corrosion: Pooling water around the base of the tank, rust-colored hot water, or visible rust on the tank body are signs of internal corrosion. A corroded tank cannot be repaired. It needs replacement. You can learn more about replacement considerations before making that call.
- Cold weather effects: In Santa Maria and surrounding areas, cold snaps rarely cause frozen pipes, but an uninsulated garage installation can cause the water heater to work harder and recover more slowly during cooler months. An insulation blanket around the tank helps.
Pro Tip: If you are getting rusty or metallic-smelling hot water, that is a tank corrosion issue, not a plumbing fixture problem. The fix is a new unit, not a new faucet.
When to stop DIY and call a professional
Knowing when to stop is just as important as knowing how to start. These are the situations where you should contact a licensed plumber or technician without second-guessing yourself:
- The circuit breaker trips repeatedly after resets. This signals a deeper electrical fault inside the unit.
- You smell gas anywhere near the water heater or in the room.
- There is visible water pooling at the base of the tank, especially with signs of rust.
- The pilot light will not stay lit after two or three relighting attempts with a new thermocouple.
- The reset button on an electric unit trips repeatedly after being pressed.
- Your water heater is over 10 to 12 years old and losing efficiency. At that age, repair costs often approach replacement costs.
- You need to perform electrical testing but do not own a multimeter or are not comfortable working near live circuits.
Knowing if your situation qualifies as a plumbing emergency can help you decide how quickly you need to act. A slow-dripping tank is urgent. A gas smell is an emergency requiring immediate evacuation.
My honest take on DIY water heater repairs
I have seen homeowners press the reset button five times in a row wondering why nothing changes. Here is what I have learned after years of watching these situations play out: the reset button is not a fix. It is a symptom indicator. When it trips once after an unusual event, resetting it is completely reasonable. When it trips twice in the same week, something is burning out inside that tank, and every additional reset is buying minutes at the cost of safety.
The other misconception I hear constantly is that skipping the annual flush is harmless. Sediment builds up slowly. You will not notice it until you start getting lukewarm water and grinding noises. Then people assume the heating element failed when, in reality, a $0 flush done six months earlier would have prevented the whole situation.
My honest advice: do the basic checks and resets covered in this guide with confidence. Relight a pilot, adjust a thermostat, even replace a thermocouple if you are comfortable with it. But if you are repeatedly resetting the same button, smelling anything unusual, or dealing with a unit over a decade old, the money you spend on a professional diagnosis is almost always less than the damage caused by pushing a failing unit past its limit.
— Kirk
Get your hot water back today with Drainpointplumbing
If you have worked through these steps and the hot water is still not coming back, or if you hit any of the red flags above, the team at Drainpointplumbing is ready to help. Drain Point Plumbing & Restoration has served Santa Maria and Santa Barbara County homeowners for over 15 years, handling everything from a straightforward water heater repair to full unit replacement on both traditional and tankless systems. Their licensed technicians diagnose the real cause of the problem instead of guessing. You can also explore their residential plumbing services if the issue turns out to be fixture-related. Emergency service is available 24/7, and free quotes make it easy to understand your options before committing to anything.
Request a free quote and get your hot water restored by a local team that knows these homes.
FAQ
Why do I suddenly have no hot water?
The most common causes are a tripped circuit breaker or reset button on electric units and an extinguished pilot light on gas units. Check all faucets first to confirm the problem is whole-house and not isolated to one fixture.
How do I reset my water heater?
For electric units, flip the dedicated circuit breaker off and on, then press the red reset button located under the upper access panel. For gas units, follow the relighting instructions on the label attached to the front of the heater.
What does it mean when my water heater reset button keeps tripping?
Repeated reset trips indicate a faulty heating element or a wiring short. Continuing to reset without diagnosing the cause is a fire risk. Have a technician test the elements with a multimeter.
How often should I flush my water heater?
Flush your tank every 6 to 12 months to remove sediment deposits that reduce efficiency and cause noisy operation. The process takes about 30 minutes and extends the life of the unit significantly.
When should I replace my water heater instead of repairing it?
If the unit is over 10 to 12 years old, shows signs of internal corrosion, or requires multiple costly repairs in a short period, replacement is usually the better investment compared to continued repairs.