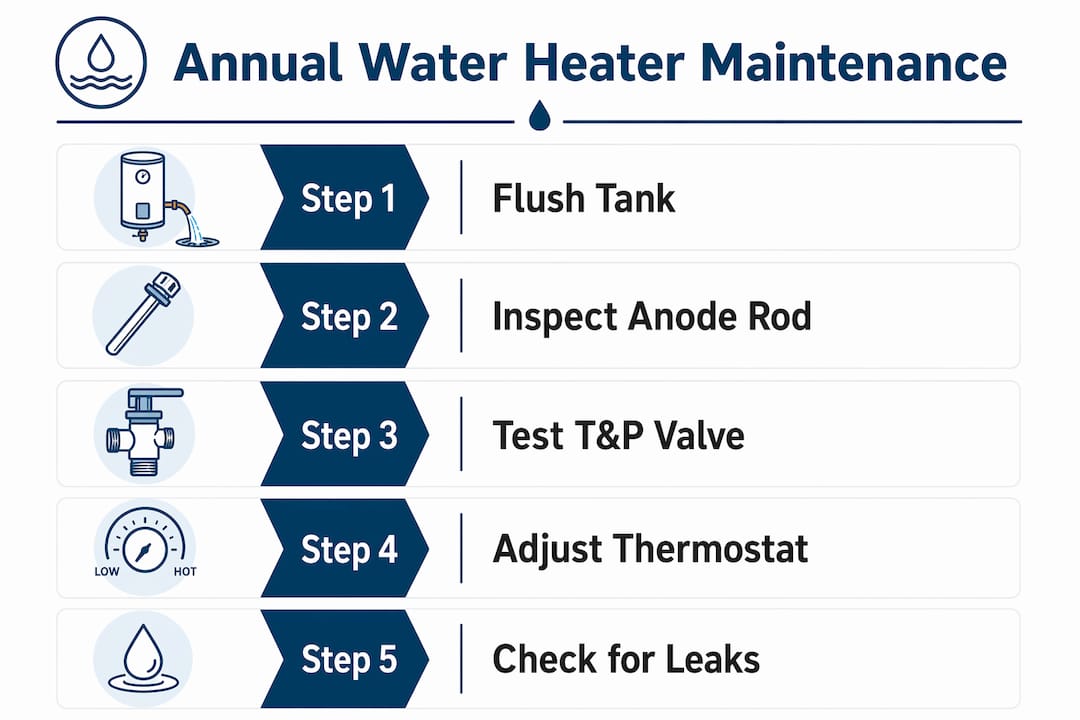
Annual water heater maintenance is the practice of flushing sediment, inspecting key components, and adjusting settings once a year to keep your unit running safely and efficiently. Most homeowners skip this task entirely, then wonder why their energy bills climb and their heater dies years ahead of schedule. Sediment buildup alone reduces efficiency by 20–40% and accelerates tank corrosion. The good news: you can maintain water heater annually in about 45 minutes, and the payoff in lifespan and energy savings is significant.
What tools do you need to maintain your water heater annually?
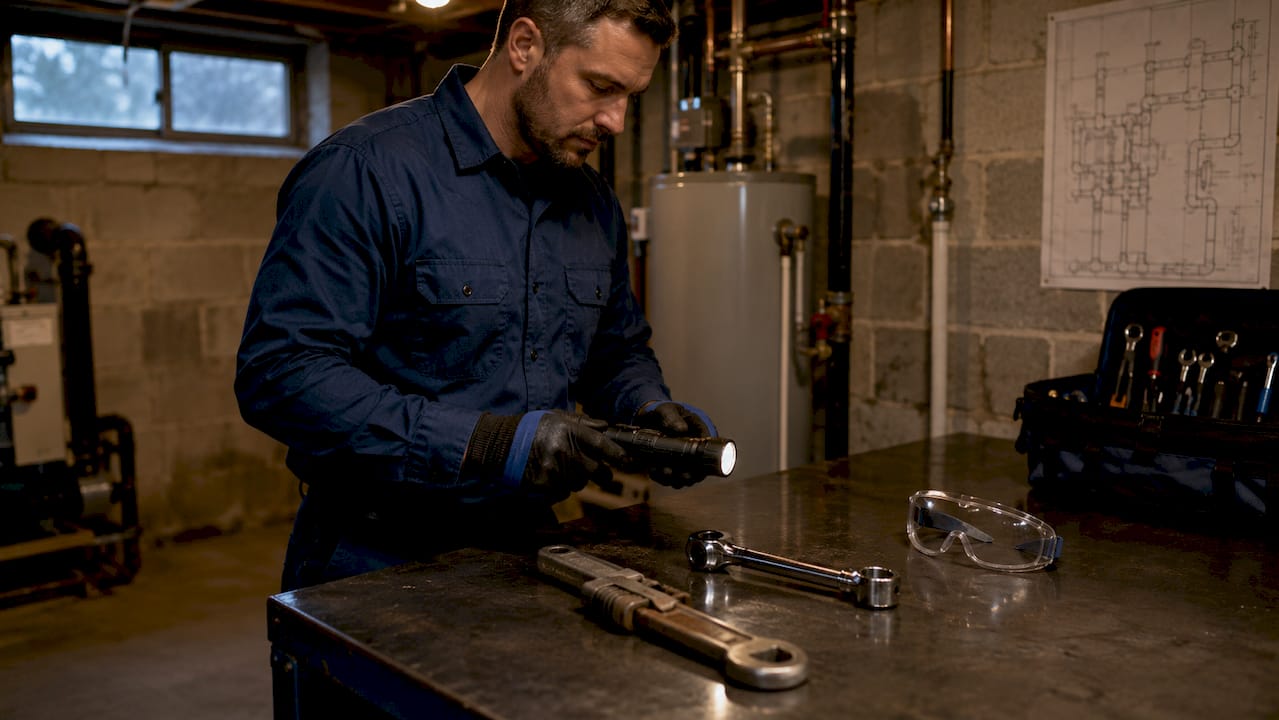
Gathering the right equipment before you start saves time and prevents mid-task scrambling. You do not need specialized gear. Most of what you need is already in your garage or available at any hardware store.
Basic tools and materials:
- Garden hose (long enough to reach a floor drain or outdoor area)
- Flathead and Phillips screwdrivers
- Adjustable wrench or pipe wrench
- Bucket (for catching initial drain water)
- Voltage tester (for electric models)
- Pressure gauge
- Replacement anode rod (if yours is due for swap)
Safety gear:
- Heat-resistant gloves
- Safety glasses
- Closed-toe shoes
Before you touch anything, pull out your water heater's model number and installation date. Write them down or photograph the label. Keeping a maintenance log of every service date, part replaced, and observation makes future repairs faster and helps you decide when replacement makes more financial sense than repair.
Pro Tip: Set a recurring calendar reminder each year, ideally in early fall before heating demand increases. Pairing your water heater service with another seasonal task, like changing smoke detector batteries, makes it easier to remember.
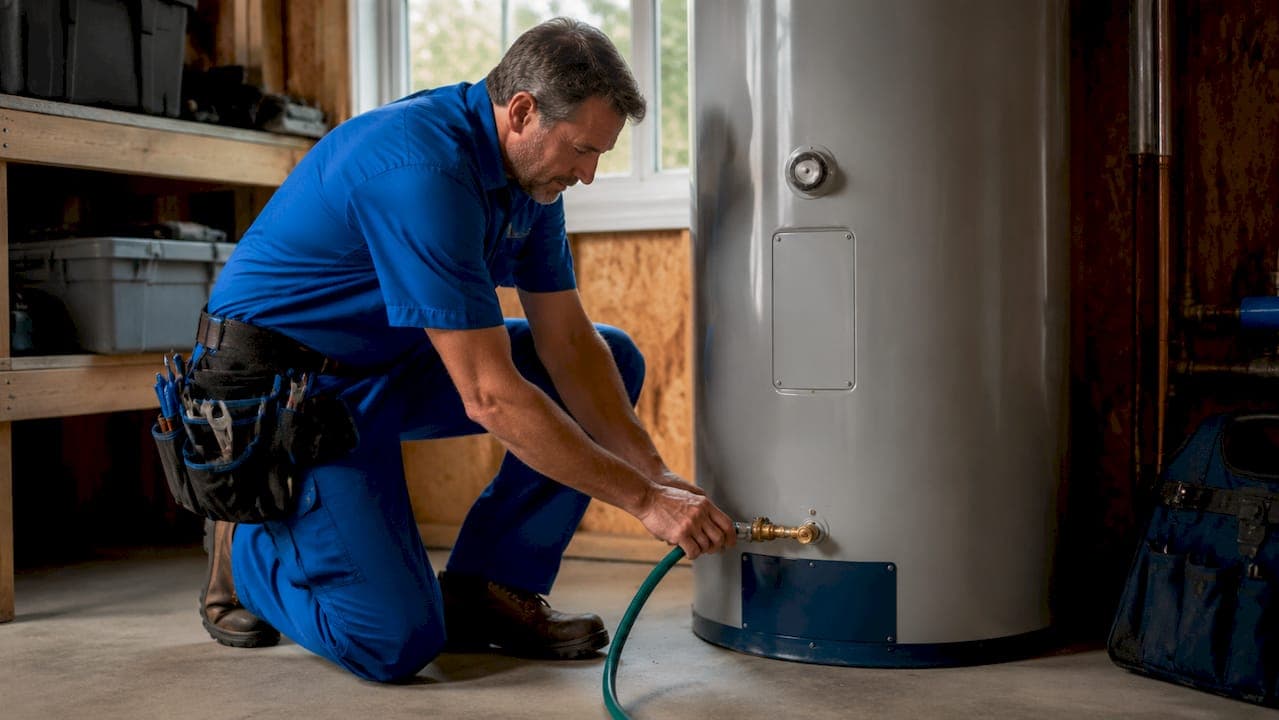
How do you flush a water heater tank safely?
Flushing is the single most impactful task in any annual water heater maintenance routine. Sediment acts as an insulating layer between the burner and the water, forcing the unit to work harder and run longer. Flushing removes this buildup and restores heating efficiency while protecting the tank lining from corrosive trapped water.
Step-by-step flushing process:
- Turn off the power or gas. For electric heaters, switch off the breaker. For gas models, turn the thermostat to the "pilot" setting. Never drain a tank with the heating element still active.
- Shut off the cold water supply. The cold water inlet valve is typically located at the top of the unit.
- Connect a garden hose to the drain valve. Route the other end to a floor drain, utility sink, or outdoors. The water will be hot, so keep people and pets away from the discharge area.
- Open a hot water faucet somewhere in the house. This relieves pressure and allows the tank to drain without creating a vacuum.
- Open the drain valve. Let the tank drain fully. Watch the water coming out. Cloudy, rust-colored, or gritty water confirms sediment was present.
- Flush with fresh water. Once the tank is empty, briefly turn the cold water supply back on to stir up and flush out remaining sediment. Repeat until the water runs clear.
- Close the drain valve, remove the hose, and refill the tank. Keep that hot water faucet open until water flows steadily from it, which signals the tank is full and air has been purged.
- Restore power or gas. Wait 30–60 minutes before drawing hot water to allow the tank to fully reheat.
Caution: If the drain valve leaks after you close it, do not ignore it. A dripping valve is a sign of mineral corrosion and should be replaced before the next use.
If you live in a hard water area, flush every 6 months rather than once a year. Hard water deposits minerals far faster, and a single annual flush will not keep up with the accumulation rate.
Pro Tip: If your drain valve is plastic and has never been opened, it may be brittle from age. Turn it slowly and stop if you feel resistance. Forcing a stuck plastic valve can crack it and create a much bigger problem.
How to inspect critical water heater components during your annual check
Flushing the tank is only part of the job. Three other components deserve attention every year: the anode rod, the temperature and pressure relief valve, and the thermostat setting.
Anode rod inspection
The anode rod is a metal rod, typically magnesium or aluminum, that sits inside the tank and corrodes in place of the steel tank walls. When the rod is depleted, the tank itself starts to corrode. Inspect the anode rod every 3 years, or annually if you have a water softener. Softened water strips the rod faster than hard water, which is counterintuitive but well documented.
To check it, locate the hex head on top of the tank, use a 1 1/16-inch socket wrench to unscrew it, and pull the rod out. If it is less than half an inch thick or heavily coated in calcium, replace it. A new anode rod typically costs $20–$50 and takes under 15 minutes to swap.
Temperature and pressure relief valve test
The T&P valve is a safety device that releases pressure if the tank overheats or over-pressurizes. A failed T&P valve is a serious hazard. Testing it is simple: lift the lever briefly and let it snap back. You should hear a rush of water or steam. If nothing happens, or if the valve drips continuously afterward, replace it before the next use.
Thermostat setting
Key component checks at a glance:
| Component | What to check | Recommended action |
|---|---|---|
| Anode rod | Thickness and corrosion level | Replace if under 1/2 inch thick |
| T&P relief valve | Opens and closes cleanly | Replace if stuck or dripping |
| Thermostat | Current temperature setting | Set to 120°F |
| Drain valve | No drips after flushing | Replace if leaking |
| Vent pipe (gas only) | No blockages or rust | Clear or call a pro |
Setting your thermostat to 120°F instead of the factory default of 140°F saves 6–10% in energy costs and eliminates scald risk. Most households have no reason to run hotter than 120°F. The only exception is homes with immunocompromised residents, where a higher temperature may be medically advised.
What are the most common water heater maintenance mistakes?
Even homeowners who attempt yearly water heater checks often undermine their own efforts with a few predictable errors.
Mistakes that cost you:
- Skipping the T&P valve test. Most people flush the tank and call it done. The T&P valve is the most critical safety component and the most commonly ignored.
- Ignoring noise. Loud popping or rumbling during operation signals trapped water boiling beneath a sediment layer. That noise means the flush is overdue, not optional.
- Flushing once in a hard water area. If your water supply is high in minerals, a single annual flush is not enough. You need to flush every 6 months to stay ahead of buildup.
- Not replacing a worn anode rod. Skipping rod replacement is the fastest way to shorten tank life. Once the rod is gone, tank corrosion accelerates and no amount of flushing will reverse it.
- Skipping documentation. Maintenance without records is guesswork. You will not remember when you last replaced the anode rod three years from now.
When to call a professional
Call a licensed plumber when you find active leaks at fittings or the tank base, when the T&P valve does not respond during testing, or when the drain valve cracks during flushing. Gas models with corroded vent pipes or pilot light issues also require professional attention. Attempting those repairs without training creates real safety risk. If you notice signs of water heater failure beyond normal wear, do not delay the call.
The cost of a professional inspection is far lower than an emergency replacement. A water heater that fails unexpectedly often causes water damage on top of the replacement cost. Regular upkeep is not just about efficiency. It is about avoiding a much larger bill.
Key Takeaways
Skipping annual water heater maintenance costs you efficiency, lifespan, and eventually the unit itself, while a 45-minute yearly routine prevents all three outcomes.
| Point | Details |
|---|---|
| Flush every year, or more often | Hard water areas need flushing every 6 months to prevent mineral buildup. |
| Check the anode rod regularly | Inspect every 3 years, or annually with a water softener, and replace when depleted. |
| Test the T&P valve every year | Lift the lever briefly to confirm it opens and closes. Replace it if it sticks or drips. |
| Set the thermostat to 120°F | This setting saves 6–10% in energy costs and eliminates scald risk. |
| Keep a maintenance log | Recording service dates and part replacements helps you make smarter repair decisions. |
Why I schedule water heater maintenance like a bill payment
Most homeowners treat water heater upkeep as something to do "when there's a problem." That mindset is exactly why so many units fail years before they should. A seasonal maintenance rhythm is the most practical fix I have seen. Assign specific tasks to specific seasons and the whole job stops feeling like a project.
What I have noticed after years of working with residential plumbing is that the maintenance log is the most underrated tool in the process. Homeowners who document their service history make better decisions. They know when the anode rod was last replaced. They can tell a plumber exactly what has been done. They catch patterns, like a T&P valve that needed replacing twice in four years, which signals a deeper pressure problem.
The other thing I keep seeing is people who flush the tank but never open the T&P valve. They feel good about the maintenance because they did the visible task. The valve, which is the actual safety device, goes untested for years. That is the one that matters most in an emergency.
My honest recommendation: treat your water heater like a car. You would not skip an oil change because the engine sounds fine. Do not skip the annual service because the hot water still works. The unexpected failures almost always trace back to years of skipped maintenance, not a single bad day.
— Kirk
Need professional water heater service in Santa Maria?
Drainpointplumbing handles the full range of water heater maintenance, repair, and replacement for homeowners and property managers across Santa Barbara County. Whether you need a professional flush, an anode rod replacement, or a full unit inspection, the team brings over 15 years of hands-on experience to every job.
If your annual check turns up a leak, a failed valve, or a unit that is simply past its prime, Drainpointplumbing offers water heater repair and installation in Santa Maria and surrounding areas. For homeowners who want a professional to handle the full yearly service, residential plumbing repairs are available with free quotes and no-pressure consultations. Senior and military discounts apply. Call or request a quote online to schedule your service.
FAQ
How often should you maintain a water heater?
Flush and inspect your water heater once a year. Homeowners in hard water areas should flush every 6 months to prevent excessive mineral buildup.
What are the signs your water heater needs service?
Loud popping or rumbling during operation, rusty or discolored water, and inconsistent hot water supply all indicate the unit needs immediate attention.
How long does annual water heater maintenance take?
A full annual service, including flushing, anode rod inspection, and T&P valve test, typically takes about 45 minutes for a standard tank unit.
Does setting the thermostat lower actually save money?
Yes. Dropping the thermostat from 140°F to 120°F saves 6–10% in water heating energy costs and reduces the risk of scalding at the tap.
When should you replace a water heater instead of maintaining it?
Most tank water heaters last 8–12 years with proper care. If your unit is over 10 years old, shows active tank leaks, or requires repeated repairs, replacement is more cost-effective than continued maintenance.