A whole house plumbing inspection checklist is a structured tool for evaluating every critical component of your home's plumbing system, from the main water supply line to the last drain trap. Undetected plumbing failures are expensive. Water damage restoration costs typically run from $1,350 to $6,200 per incident, and most of those incidents start as small, overlooked problems. A systematic home plumbing checklist catches those problems before they become emergencies. The inspection covers water supply, drainage, fixtures, water heaters, and hidden infrastructure, using tools like moisture meters and sewer cameras to find what visual checks miss.
1. What does a whole house plumbing inspection checklist cover?
A complete plumbing inspection is organized around six core systems: water supply, sanitary drainage, fixtures, water heating, backflow prevention, and exterior or underground piping. Each system has its own failure modes, and skipping any one of them leaves gaps that can cost you later.
Here is what a thorough home plumbing checklist addresses in each area:
- Water supply system: Check the main shutoff valve, water meter, pressure regulator, and all branch shutoffs. Supply pressure should fall between 40 and 80 psi. Anything above 80 psi stresses fittings and appliances.
- Sanitary drainage and venting: Inspect all drain lines for proper slope (the standard is 1/4 inch per foot), confirm vent pipes are clear and correctly sized, and verify every fixture has a functioning trap.
- Fixtures and fittings: Test every faucet, sink, toilet, tub, and shower for leaks, flow rate, and mechanical condition. Check supply lines and shutoff valves under sinks and behind toilets.
- Water heater: Inspect the temperature and pressure relief valve, check for corrosion at connections, confirm the thermostat setting (120°F is the recommended safe temperature), and look for an expansion tank on closed systems.
- Backflow prevention: Confirm backflow preventers are installed at hose bibs, irrigation connections, and any cross-connection point. Missing devices are a code violation in most jurisdictions.
- Gas plumbing (where applicable): Inspect gas supply lines for corrosion, check connections at appliances with a gas leak detector, and confirm shutoff valves are accessible and operational.
- Exterior and underground piping: Inspect exposed outdoor pipes, hose bibs, and irrigation connections. A sewer camera inspection is the only reliable way to evaluate underground sewer lines for root intrusion, cracks, or offset joints.
Pro Tip: Document every shutoff valve location during your inspection. In an emergency, knowing exactly where to turn off water to a specific zone saves significant damage.
2. How to conduct a staged plumbing inspection
IRC 2024 mandates three distinct inspection stages for any plumbing work: underground rough-in, above-ground rough-in, and final inspection after fixtures are installed. This staged approach applies to new construction and major renovations, but the same logic helps homeowners and property managers structure a whole house plumbing evaluation on existing homes.
Stage 1: Underground rough-in
This stage covers all piping installed below the slab or underground before any concrete is poured. For existing homes, this means inspecting accessible crawl space piping and scheduling a sewer camera run on the main drain line. Pressure testing at this stage catches leaks before they are buried. IRC 2024 requires water supply systems to hold 50 psi for 15 minutes, or 1.5 times the working pressure for systems operating above 80 psi.
Stage 2: Above-ground rough-in
- Verify pipe slope on all horizontal drain runs (1/4 inch per foot minimum).
- Check vent pipe sizing and confirm all vents terminate above the roofline.
- Inspect pipe hangers and supports for spacing compliance.
- Confirm no pipes are notched or bored through structural members beyond code limits.
- Pressure test the water supply system before any walls are closed.
Stage 3: Final inspection
The final stage tests the fully installed system. Run every fixture, flush every toilet, and operate every appliance connected to the plumbing. Check for leaks at all supply and drain connections. Confirm the water heater is set correctly and the relief valve discharges to a safe location.
"A common inspection failure is a scope mismatch, where actual plumbing installations differ from documented permits, leading to potential code violations." — Jaspector Plumbing Inspection Checklist
Never close walls or pour concrete before each stage is approved. Early concealment is the single most expensive mistake in plumbing work.
3. Which specialized tools make inspections more accurate?
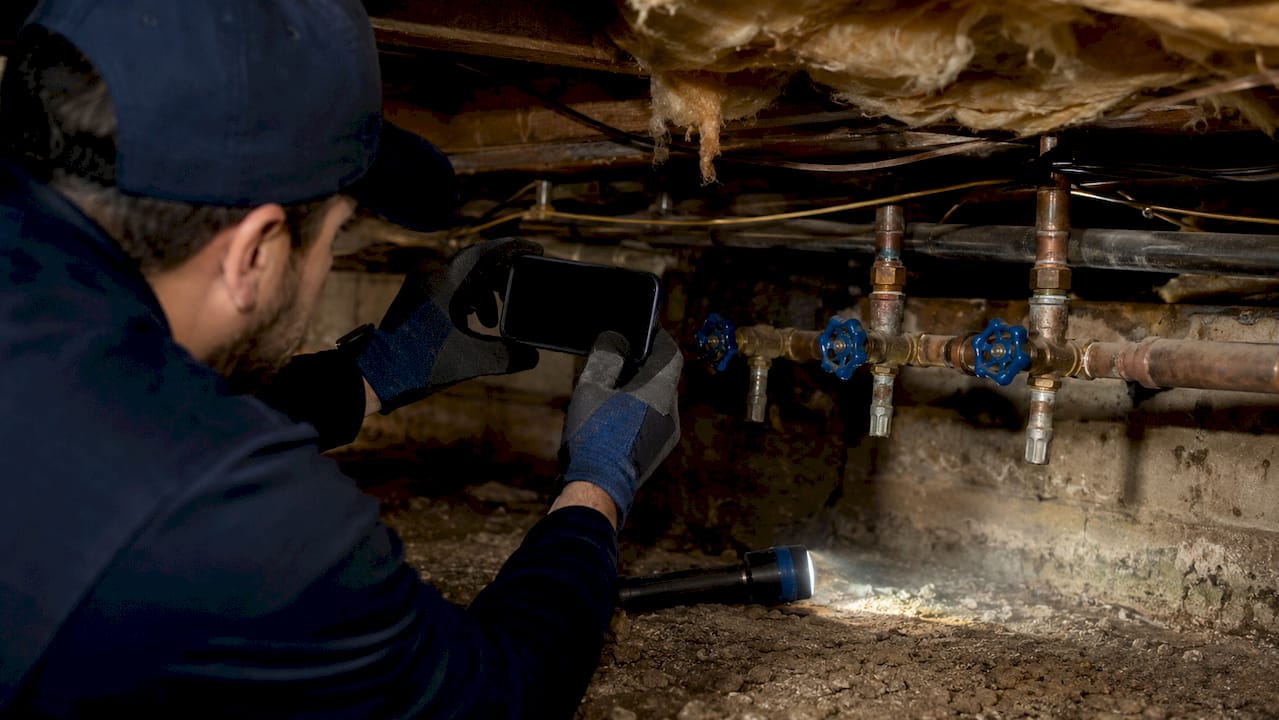
Visual checks alone miss the majority of serious plumbing problems. Hidden infrastructure inspection using moisture meters and video sewer cameras is the standard for identifying high-risk issues that cause catastrophic failures. Here is what each tool does and why it matters:
- Moisture meters: These detect water content in walls, floors, and ceilings without cutting into surfaces. A reading above 16% in wood framing indicates active moisture intrusion. Moisture meters find slow leaks behind tile and under flooring that would otherwise go unnoticed for years.
- Video sewer cameras: A camera pushed through the cleanout reveals root intrusion, pipe offsets, grease buildup, and cracked sections in underground drain lines. This is the only way to evaluate sewer condition without excavation. Learn more about how emergency plumbers diagnose leaks using these same techniques.
- Pressure gauges: A gauge installed at a hose bib or laundry connection gives you a real-time supply pressure reading. Test at multiple points to identify pressure drops that indicate a partially closed valve or a failing pressure regulator.
- Water flow meters: These measure gallons per minute at individual fixtures and compare them against manufacturer specifications. A toilet using 3 gallons per flush instead of 1.28 gpf signals a worn flapper or fill valve.
Pro Tip: Run multiple fixtures simultaneously when testing drainage. Running two showers and a washing machine at the same time reveals venting problems and undersized drain lines that single-fixture tests miss entirely.
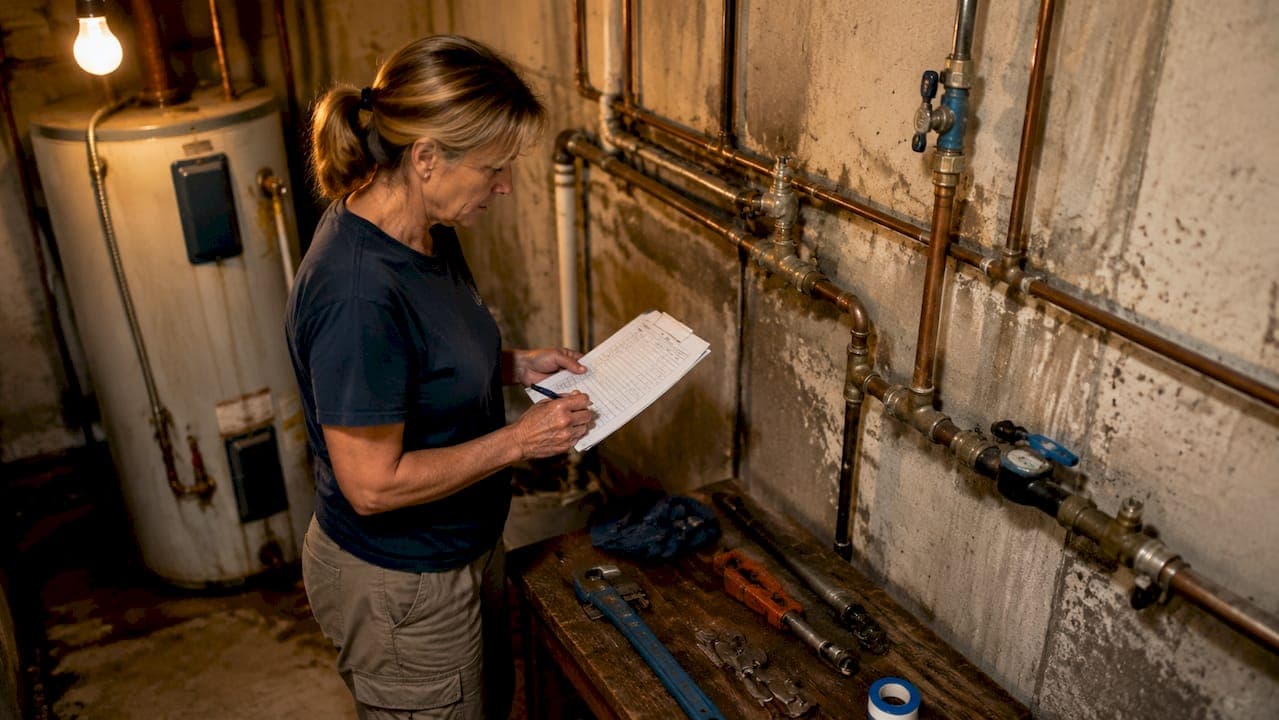
Document every finding with photos, the location, and a severity rating. Documenting findings rather than attempting repairs during the inspection is the professional standard. Forcing an old valve or dismantling a trap during inspection can create the very failure you were trying to prevent.
4. Common problems found during a plumbing system evaluation
Most plumbing inspections on homes older than 15 years turn up the same categories of problems. Knowing what to expect helps you prioritize repairs instead of reacting to the first thing you find.
- Active leaks and corrosion: Supply line corrosion at copper-to-galvanized connections is the most common finding in homes built before 1980. Even a slow drip under a sink causes mold growth within 48 hours.
- Improper drainage slope: Drain lines installed with insufficient slope collect debris and cause recurring slow drains. This is a structural problem that requires re-routing pipe, not just snaking.
- Defective water heater components: Aged relief valves that have never been tested are a safety hazard. A water heater older than 10 years with visible corrosion at the base should be evaluated for replacement.
- Missing or failed backflow preventers: Hose bibs without vacuum breakers are a cross-connection risk. This is a code violation in California and most other states.
- Scope mismatches: Plumbing that does not match the permitted drawings indicates undocumented work. This creates liability for property owners and can block future permits.
Use your inspection results to build a prioritized defect list. A prioritized defect list moves the inspection beyond a simple pass/fail result and turns it into a maintenance planning tool.
| Defect category | Risk level | Typical action |
|---|---|---|
| Active leaks | High | Repair within 48 hours |
| Corrosion at joints | High | Evaluate for repiping |
| Improper drain slope | Medium | Schedule re-routing |
| Aged water heater | Medium | Plan replacement within 1 year |
| Missing backflow preventer | Medium | Install at next service visit |
| Cosmetic fixture wear | Low | Address during routine maintenance |
Property managers should schedule a full plumbing system evaluation every two to three years. Homeowners can extend that to every three to five years on newer construction, but annual visual checks of accessible components are worth doing regardless.
Key takeaways
A whole house plumbing inspection checklist is the most cost-effective tool for preventing water damage, identifying code violations, and planning maintenance before failures occur.
| Point | Details |
|---|---|
| Cover all six systems | Inspect supply, drainage, fixtures, water heater, backflow, and exterior piping every cycle. |
| Use the three-stage approach | Follow underground, rough-in, and final inspection stages to catch problems before concealment. |
| Deploy specialized tools | Moisture meters and sewer cameras find hidden failures that visual checks miss entirely. |
| Document, don't repair | Record findings with photos and severity ratings; avoid forcing valves or dismantling traps during inspection. |
| Build a prioritized defect list | Rank repairs by risk level to turn inspection results into a strategic maintenance plan. |
Why I treat every inspection as a financial audit
Most homeowners think of a plumbing inspection as something you do when buying a house or when something breaks. That framing costs money. I have seen properties where a $300 sewer camera run would have caught a root intrusion that eventually required $18,000 in excavation and pipe replacement. The inspection was skipped because nothing seemed wrong.
The hidden infrastructure is where the real risk lives. Visible fixture leaks are easy to spot and cheap to fix. The main sewer line, the supply piping inside walls, and the connections under a slab are invisible until they fail. By then, you are not dealing with a plumbing problem. You are dealing with a restoration project.
My recommendation: treat the inspection report as a financial document. Every defect has a cost to fix now and a larger cost if ignored. When you rank repairs by risk and schedule them proactively, you are managing an asset. When you wait for failures, you are paying emergency rates and dealing with collateral damage like mold and structural rot.
Property managers especially benefit from this mindset. A building plumbing inspection on a rental property is not a regulatory checkbox. It is documentation that protects you from liability and gives you a defensible maintenance record. Do it on a schedule, document it thoroughly, and use the results to plan capital expenditures. That approach pays for itself within a single inspection cycle.
— Kirk
How Drainpointplumbing can help with your next inspection
Drainpointplumbing provides full-service residential plumbing repairs and fixture replacements across Santa Barbara County, with over 15 years of experience diagnosing exactly the kinds of problems this checklist is designed to catch. The team uses moisture meters and video sewer cameras to inspect what you cannot see, and every service call includes clear documentation of findings and recommended next steps.
Whether you need a scheduled plumbing maintenance checkup, a sewer camera run on an older property, or 24/7 emergency plumbing response when something fails unexpectedly, Drainpointplumbing is available around the clock. Seniors and military personnel receive service discounts. Request a free quote and schedule your inspection today.
FAQ
What is included in a whole house plumbing inspection?
A whole house plumbing inspection covers the water supply system, all drain and vent lines, every fixture and appliance connection, the water heater, backflow prevention devices, and exterior or underground piping. Specialized tools like moisture meters and sewer cameras are used to evaluate hidden components.
How often should a home plumbing inspection be done?
Homeowners should schedule a complete plumbing system evaluation every three to five years. Property managers and landlords benefit from inspections every two to three years, with annual visual checks of accessible fixtures and supply lines in between.
What does a plumbing pressure test involve?
A pressure test fills the water supply system and holds it at 50 psi for 15 minutes to confirm there are no leaks. IRC 2024 requires systems operating above 80 psi to be tested at 1.5 times the working pressure. Any pressure drop during the test indicates a leak that must be located before walls are closed.
Can I perform a plumbing inspection myself?
You can complete a basic home plumbing checklist covering visible fixtures, supply lines, and accessible drain connections. Hidden infrastructure, including underground sewer lines and piping inside walls, requires professional tools and a licensed plumber to evaluate accurately.
What is a scope mismatch in a plumbing inspection?
A scope mismatch occurs when the installed plumbing does not match the permitted drawings on file with the local building department. It indicates undocumented work, creates potential code violations, and can complicate future permits or property sales.